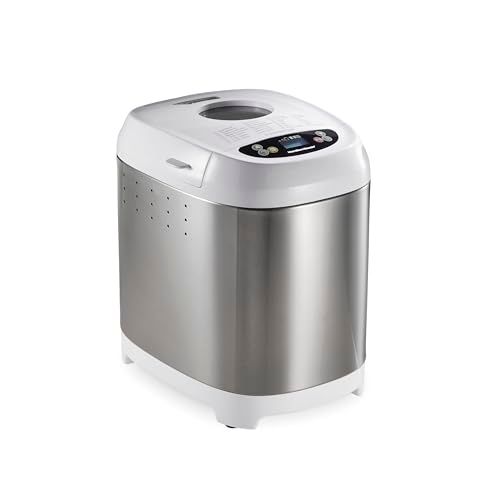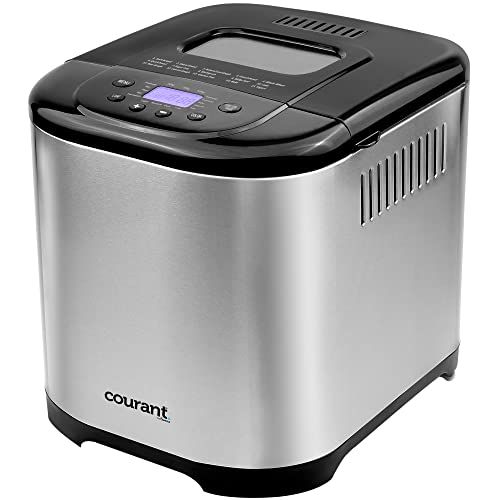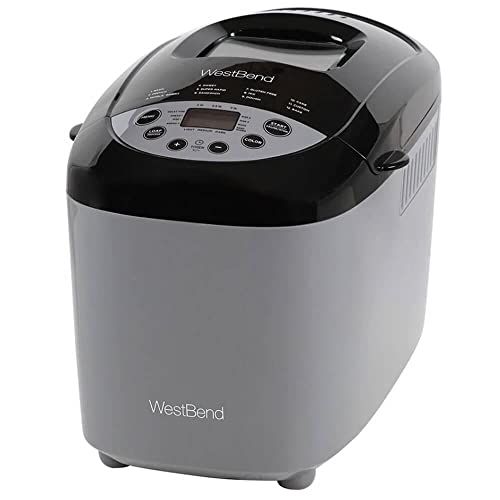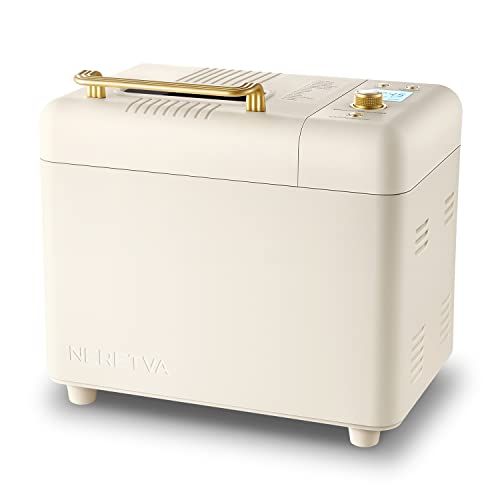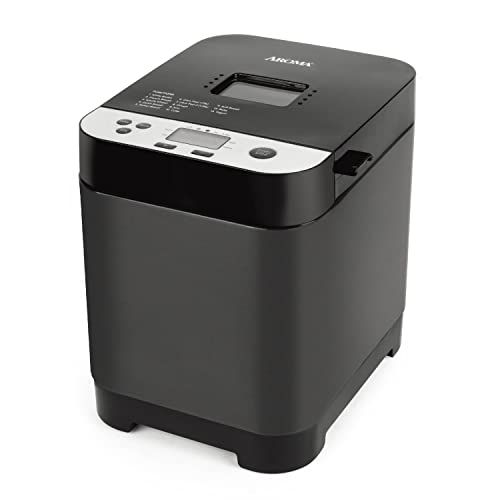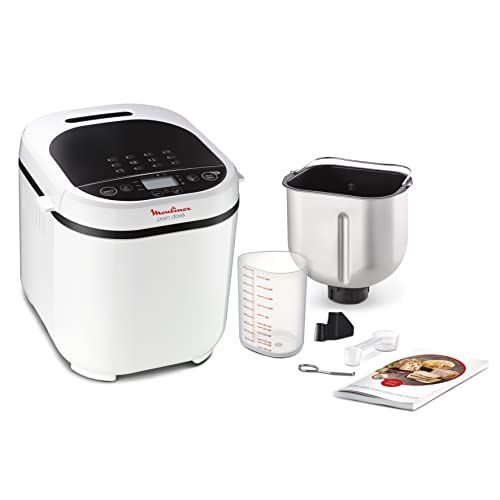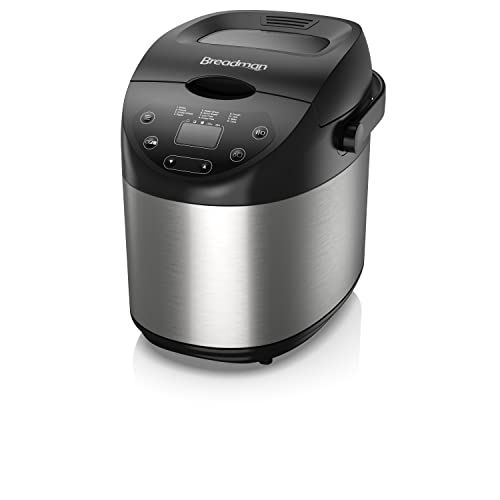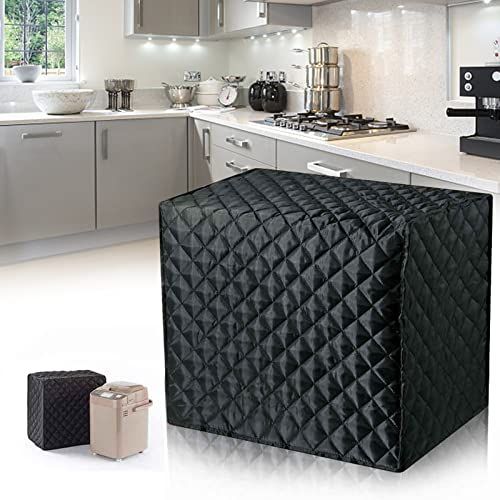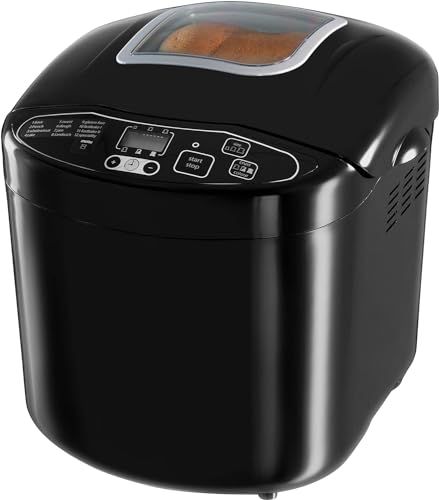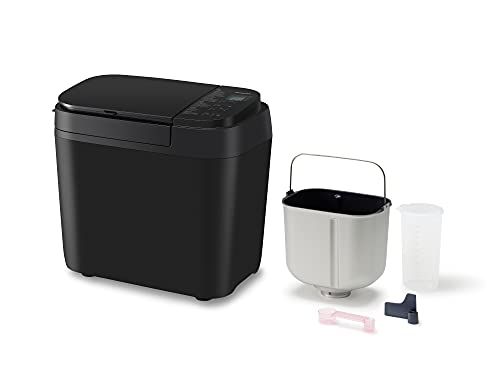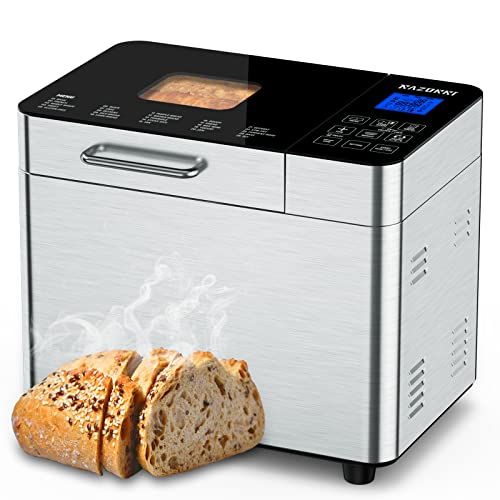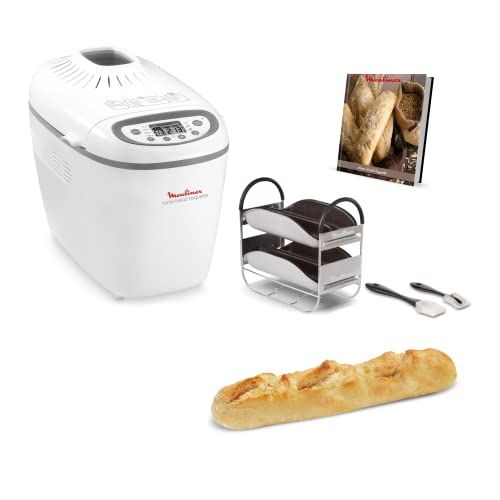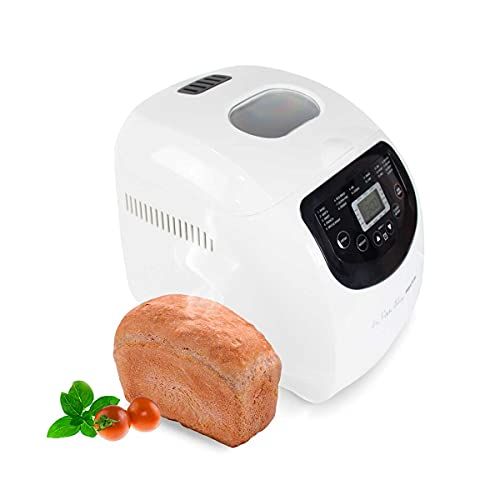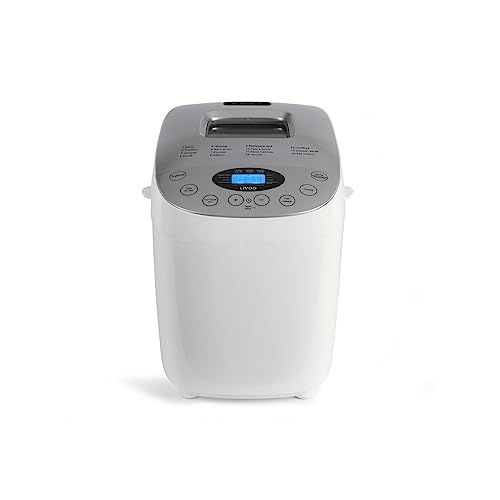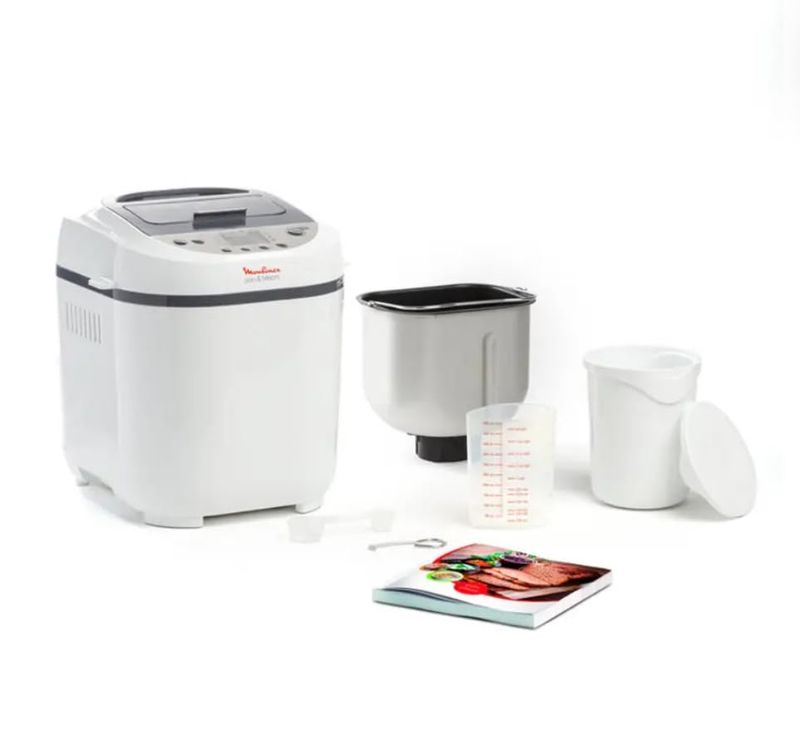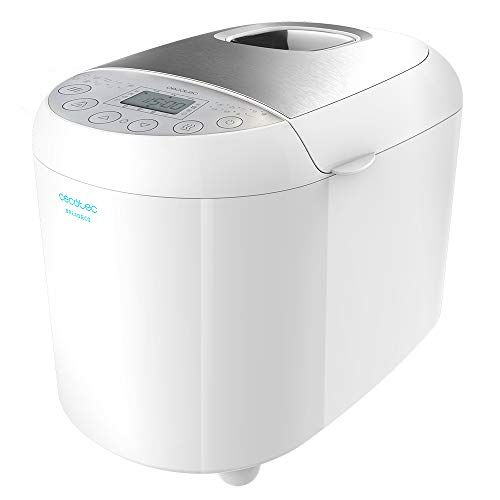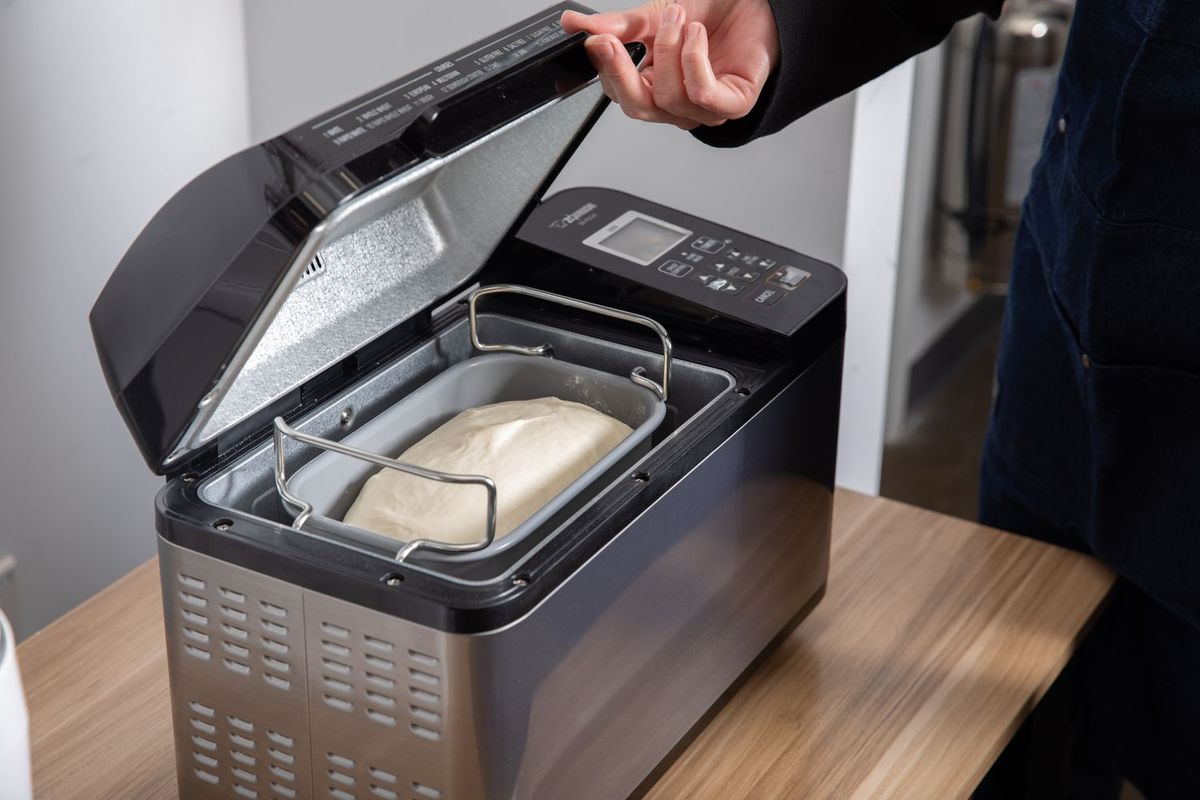
A breadmaker, also known as a bread machine, is a kitchen appliance that automates the process of making bread. Breadmakers combine mixing, kneading, rising, and baking in one machine that can be programmed to produce a fresh loaf of bread with minimal effort.
Breadmakers have a bread pan that contains a paddle or kneading blade to mix and knead the dough. Once the ingredients are added to the bread pan, the machine mixes and kneads the dough through a series of pre-programmed cycles. The dough rises in the bread pan, and then the breadmaker bakes the bread. Many breadmakers have different settings for different kinds of dough, such as white, whole wheat, or sweet bread doughs.
Using a breadmaker offers several benefits:
Convenience - It automates the breadmaking process, requiring only minimal effort to measure ingredients and start the machine. No kneading or rising needed.
Consistent results - The pre-programmed settings take the guesswork out of making bread. The cycles are optimized for kneading, rising and baking.
Time savings - While the machine works, you can focus on other kitchen tasks. No need to knead dough or monitor rising.
Versatility - Most machines can make different loaf sizes and types, from basic white to whole wheat. Some models have settings for jam, pasta dough and cake.
Customization - Breadmakers allow adding extra ingredients like seeds, nuts or herbs for variety.
With a breadmaker, anyone can enjoy freshly baked bread at home with minimal effort. The machine handles the process automatically for convenience and consistent loaves every time.
History of Breadmakers
The first breadmakers were invented in Japan in the 1980s by Matsushita Electric Industrial Co. (now known as Panasonic). The goal was to simplify the bread-making process for busy households by creating an appliance that could knead, proof, and bake bread with just the push of a button.
These early breadmakers were very basic, with simple timers and just a few settings. Over time, the technology rapidly evolved with the addition of features like crust control, non-stick interiors, viewing windows, and automatic dispensers. Major innovations included the ability to program custom cycles, make different sizes and shapes of loaves, and incorporate fruits, nuts and other mix-ins.
Today's breadmakers bear little resemblance to those early models. Modern bread machines have digital controls with tons of preset programs and settings. They can make a huge variety of breads with minimal effort, from basic loaves to artisan sourdoughs. While the basics of mixing, kneading and baking remain the same, breadmakers are now highly advanced appliances that have made home bread-baking easier and more accessible than ever.
Types of Breadmakers
When shopping for a breadmaker, you'll find there are many options to choose from. Breadmakers come in different sizes, with different features, capacities, and from various brands.
Sizes and Capacities
Small breadmakers are designed for 1-2 pound loaves, good for smaller households.
Standard breadmakers can make up to 2 pound loaves, suitable for most families.
Large breadmakers have a capacity of 2.5-3 pounds, good for large families or baking in bulk.
The size and capacity determines how much dough the bread pan can hold. Consider how often you bake bread and how much you need to make at one time.
Features
Many breadmakers have custom settings and features like:
Digital timers - Allow you to set a delay so your bread is ready when you want.
Crust control - For light, medium, or dark crusts.
Custom cycles - Such as quick bread, sweet bread, jam, dough, cake, and more.
Fruit and nut dispenser - Automatically drops in ingredients during the kneading process.
Gluten-free settings - Provide the gentle kneading needed for gluten-free doughs.
Look for the cycles, settings, and features that suit your preferences and needs.
Brands and Models
Popular brands of breadmakers include:
Cuisinart - Known for their sturdy, versatile machines like the CBK-200.
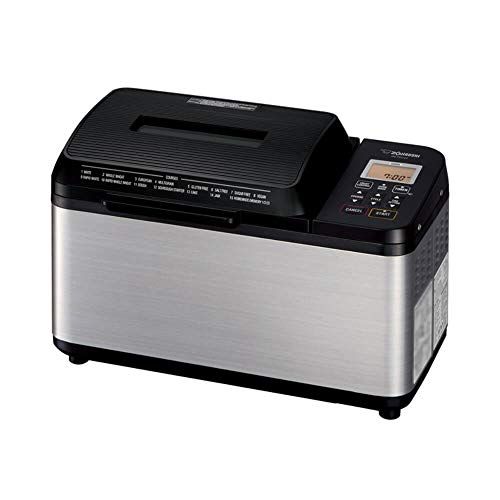
Zojirushi - Offers high-end models with advanced technology like the Virtuoso Plus.
Oster - An affordable option like the 2-Pound Expressbake model.
Panasonic - Reliable breadmakers like the SD-2501.
Breville - Sleek, user-friendly models like the Custom Loaf.
There are many reputable brands to choose from at different price points. Reading reviews can help narrow down the best model for your budget and baking needs.
How to Use a Breadmaker
Using a breadmaker is actually quite simple. Here is a step-by-step guide:
Add the ingredients to the bread pan in the correct order specified in the recipe. Typically, you'll add the wet ingredients first, followed by the dry ingredients.
Make sure to use the right measurements. Under or over-filling can negatively impact the bread, so follow the recipe closely.
Insert the bread pan into the breadmaker and lock it into place.
Close the lid and plug in the machine.
Select the appropriate cycle setting and loaf size for the type of bread you're making. Common settings are white, whole wheat, French, sweet, etc.
Press start! The breadmaker will mix, knead, rise, and bake the dough.
When the cycle is complete, use oven mitts to remove the hot bread pan. Carefully turn out the loaf of bread.
Allow the bread to cool before slicing into it.
Here are some tips for better results:
Use the delay timer if you want fresh bread ready in the morning or when you get home. Just add the ingredients the night before.
Avoid peeking under the lid during the bake cycle as this can cause the loaf to collapse.
Add fruits, nuts, seeds, etc during the beep for mix-ins so they don't get crushed during kneading.
Use bread or all-purpose flour unless the recipe states otherwise. Whole wheat flour can be used for a heartier loaf.
Check the consistency of dough balls during the kneading cycle. Add a tablespoon of flour or water if needed.
Let the loaf cool completely before slicing to allow it to set. Warm bread is more likely to tear.
Common mistakes to avoid:
Forgetting to add yeast or adding too much/little yeast. Check the type and amount in the recipe.
Not allowing enough time for rising. Make sure to use the full cycle, especially for whole grain breads.
Adding too many mix-ins like fruit or nuts, which can affect the dough texture.
Using ingredients that are too cold or too hot. Bring them to room temperature first.
Not cleaning the bread pan thoroughly after each use. This can lead to mold growth.
Following the manufacturer's instructions combined with a bit of practice will result in perfect loaves every time! Let the breadmaker do the hard work for homemade bread with minimal effort.
Recipes for Breadmakers
Bread machines open up a world of possibilities when it comes to making delicious homemade breads. With the right recipes, ingredients, and techniques, you can make perfect loaves every time. Here are some tips for getting the best results with breadmaker recipes:
Best Bread Recipes for Machines
Simple white or whole wheat bread recipes are classics, but you can branch out with herb breads, fruit and nut loaves, and savory breads like cheese or olive. Look for recipes developed specifically for bread machines to ensure the right proportions and mixing times. Popular options include cinnamon raisin, honey oat, and jalapeño cheddar.
Ingredient Tips and Substitutions
Use bread flour rather than all-purpose for a better rise. Vital wheat gluten added to the flour gives more structure. For a softer crust, add 1-2 tablespoons of oil or milk. Sugar helps browning while salt enhances flavor. You can substitute dried fruits, seeds, nuts, or herbs for a unique loaf.
Ideas for Sweet Breads, Gluten-Free, etc.
Sweet breads like banana, pumpkin, or chocolate chip are easy to make in a bread machine. For gluten-free options, check recipes using rice, tapioca, or almond flours. Mix in chocolate chips, raisins, cinnamon, etc. for a special treat. Savory variations could include olives, sun-dried tomatoes, bacon, or cheeses for flavorful creations. Get creative with shapes like braids and wreaths too!
With a quality bread machine and recipes tailored to it, you can wake up to the smell of fresh, hot bread anytime. Experiment with different flours, mix-ins, and recipes to find new favorites.
Choosing the Best Breadmaker
Choosing the right breadmaker for your needs is important to get delicious homemade bread with minimal effort. Here are some key considerations when selecting a breadmaker:
Important Features to Look For
Programmable settings - Look for models with multiple settings for different loaf sizes, crust types, and bake cycles. This allows you to easily customize your bread.
Viewing window - A viewing window in the lid lets you monitor the bread as it bakes without opening the machine.
Fruit and nut dispenser - This allows you to add ingredients like raisins, chocolate chips, or nuts at the optimal time during the kneading and baking process.
Non-stick pan - A non-stick pan makes removing baked bread easy and prevents sticking and burning.
Keep warm function - This keeps the bread warm for 1-3 hours after baking is complete before turning to the keep warm function.
Delay timer - Allows you to add ingredients and program the breadmaker to start hours later. Great for waking up to fresh bread!
Budget and Size Considerations
Breadmakers range from $50 budget models to $200+ for high end brands. Consider how often you'll use it.
Compact breadmakers take up minimal counter space but make smaller loaves. Larger models take up more room but can make up to 2 pound loaves.
Look for a model with sufficient loaf capacity for your household needs.
Reviews of Top Models
The Cuisinart CBK-200 consistently tops reviews for its stellar performance, wide range of settings and features, and reasonable price point. It can make up to a 2 pound loaf.
Zojirushi BB-PAC20 is known for making bread with an incredible texture. It has a range of cycle options and a large LCD display. On the pricier side.
Oster 2lb Expressbake Breadmaker is a budget-friendly option that still produces great tasting bread. Simple to operate.
The Breville Custom Loaf Breadmaker has a modern, compact design with intuitive controls. Consistently delivers high quality loaves for the price.
Panasonic Breadmaker receives high marks for being able to make a variety of bread styles, not just basic loaves. Very versatile.
Cleaning and Maintenance
Proper cleaning and maintenance is essential for getting the most out of your bread machine and extending its lifespan. Here are some tips:
How to Clean a Breadmaker
Unplug the machine and allow it to cool completely before cleaning.
Wipe down the outside of the machine with a damp cloth. Avoid submerging in water.
Remove and wash the bread pan, kneading paddle, and any other removable parts in warm soapy water. These can also be placed in the dishwasher.
Avoid abrasive scouring pads or cleaners that could scratch the surfaces.
Wipe inside the baking chamber with a soft cloth to remove any crumbs or residue.
Make sure all parts are completely dry before reassembling. Allow the bread pan to air dry upside down to prevent water from pooling.
Storing and Caring for the Machine
Store the breadmaker upright in a clean, dry area. Avoid storing anything on top of it.
If storing for long periods, place the kneading paddle and bread pan back in the baking chamber and close the lid. This will prevent dust and odors from accumulating.
When not in use, make sure the machine is unplugged and cooled down. Avoid leaving it plugged in continuously.
Follow all manufacturer instructions for oiling or greasing any interior parts. This will keep the machine running smoothly.
If the machine has a viewing window, keep it clean using a damp cloth and mild cleaner.
Extending the Life of Your Breadmaker
Refer to the instruction manual for cleaning, care, and maintenance recommendations. Follow these closely.
Hand wash all parts after each use and allow them to dry fully. This prevents buildup.
Avoid overloading the bread pan, which can strain the motor and gears.
Store the machine properly when not in use. Keep it covered in a clean, dry location.
Replace any worn parts like kneading paddles when needed. Using worn gears can damage the motor.
Have the machine professionally serviced if you notice any problems. Well-maintained machines can last over 10 years.
Tips for Better Breadmaker Bread
Getting consistently delicious homemade bread from a bread machine takes some practice and tweaking. Here are some tips for troubleshooting common issues and getting better results:
Adjusting Recipes
Recipes formulated specifically for bread machines will provide the best results. Hand-mixing recipes may need adjustments to the order of wet/dry ingredients and kneading times.
The amount of yeast and salt can affect the rise. Reduce yeast slightly if bread is rising too quickly and overflowing the pan. Add a pinch more salt to strengthen gluten and get a better rise.
Liquids may need adjusting based on humidity. Add a tablespoon more or less liquid to get the right dough consistency. Too dry and the bread won't rise well, too wet and it won't form a loaf shape.
Getting the Perfect Rise and Crust
Make sure to use bread machine yeast, which is specially formulated for the mixing action and temperatures. Active dry yeast may not perform the same.
Allow the dough to rise fully during the second rise cycle before baking. Poking it gently should leave an indentation. If not, you may need more yeast.
For a crisper crust, spray or brush the loaf with water before baking. Egg whites or milk can also create a shinier, crisper crust.
Avoid opening the lid during the cycles, which can cause the dough to collapse. Peek only when necessary.
Let the bread fully cool down before slicing for the best texture. Cooling allows the starches to settle and firm up.
Breadmaker Troubleshooting
Bread machines can run into issues like failed loaves or burning that require some troubleshooting and maintenance. Here are some common problems and how to resolve them:
Failed or Poorly Risen Loaves
Check that you added the correct amount of yeast. Active dry yeast needs to be proofed in warm water before adding to the bread machine.
Make sure your yeast isn't expired. Old yeast may fail to rise properly.
Use bread machine or rapid-rise yeast in your recipe, not active dry yeast. Bread machine yeast is optimized for bread makers.
Ensure you are using the right cycle for the dough. Some cycles have shorter rises which can prevent dough from rising fully.
Make sure you added enough liquid. Dehydrated dough won't rise well.
Avoid opening the lid during the kneading and rising cycles as this can cause the dough to collapse.
Burned Crust or Overbrowning
Use a lighter crust setting if your machine has this option.
Try a different type of flour - some brands brown faster than others.
Reduce any sugar in the recipe by a tablespoon or two.
Start checking crust color towards the end of the cycle and press stop once the desired color is reached.
Loaf is Too Dense or Heavy
Check that the yeast is still active by proofing it.
Make sure you are using the right type of yeast for your machine. Bread machine yeast is best.
Allow your machine to fully complete kneading and rising cycles for best rise.
Add an extra tablespoon of yeast to see if it improves rise.
Loaf Sticks to Pan
Ensure you are greasing or flouring the sides of the pan well before adding dough.
Let loaf fully cool before trying to remove to avoid tearing.
Use a plastic knife to gently loosen edges before removing loaf.
Machine Isn't Turning On
Check that the machine is securely plugged in.
Make sure outlet is functional.
Check for any tripped electrical breakers.
Contact manufacturer if machine still won't turn on after troubleshooting power. May require repair.
Most bread machine issues can be resolved with adjustments to ingredients or settings. But if problems persist after troubleshooting, it's best to contact the manufacturer, as internal repairs may be needed.
Conclusion
Owning a breadmaker can revolutionize home baking and make it easy for anyone to create fresh, homemade loaves of bread. This article has covered the history, types, usage, recipes, selection, care, tips, and troubleshooting for breadmakers. Let's summarize the key points:
Breadmakers allow you to easily make bread at home with minimal effort. Just add ingredients, select a cycle, and let the appliance do the kneading, rising, and baking.
Models come in different sizes, styles, and price ranges. Consider your frequency of use, loaf size, cycles, and extra features when choosing one.
Follow recipes specifically designed for breadmakers. Adjust water amounts as needed based on humidity. Allow 1-2 inches for rising.
Look for a breadmaker with multiple cycles, a viewing window, fruit and nut dispenser, nonstick pan, and adjustable loaf sizes. Get one large enough for your needs.
Clean the machine after each use, wipe down exterior, and descale interior per manufacturer instructions. Store properly when not in use.
For better results, use bread flour, activate yeast in warm water, allow ingredients to come to room temperature, and don't open the lid while it's baking.
Refer to the troubleshooting guide if you have issues with power, yeast, ingredients, loaf shape, crust, or other problems.
Breadmakers provide convenience, ease of use, and delicious homemade loaves. With a good appliance and recipes, anyone can wake up to the smell of freshly baked bread daily. We hope this guide helps you become a breadmaking master. Happy baking!
Breadmakers comparison
 |  |  |  |  | |
|---|---|---|---|---|---|
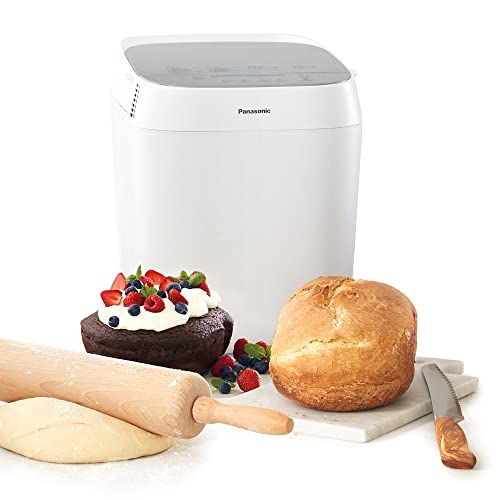
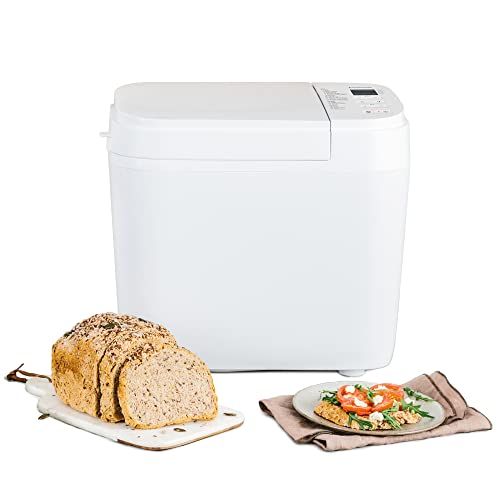
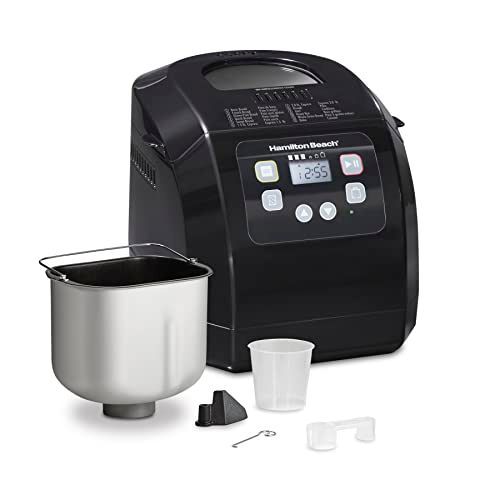
| Model | Panasonic Croustina SD-ZP2000 | WICKER WEAVING 0906 | Panasonic SD-B2510 | Hamilton Beach 29982 | Zojirushi BB-PDC20BA |
| Brand | Panasonic | WICKER WEAVING | Panasonic | Hamilton Beach | ZOJIRUSHI |
| Colour | White | Blue | White | Black | Stainless Steel / Black |
| Item Weight | 7 kg | 2 kg | 6.5 kg | 4.92 kg | 10.9 kg |
| Model Number | SD-ZP2000WXE | 0906 | SD-B2510WXC | 29982 | 618434-BB-PDC20BA |
| Power/Wattage | 700 watts | 800 watts | - | - | 700 watts |
| Product Dimensions | 40.4 x 27.3 x 34 cm; 7 kg | - | 25.2 x 36.2 x 40.8 cm; 6.5 kg | 35.31 x 28.96 x 28.45 cm; 4.92 kg | 26.67 x 45.72 x 32.72 cm; 10.89 kg |
| Special Features | - | - | Gluten programme, horizontal design | Programmable | Programmable |
| Voltage | - | 220 Volts | - | - | - |
| Material: Stainless Steel | - | - | - | Capacity 907 g | Capacity 907 g |
| Number of Programmes | 18 | - | 21 | 12 | - |
| Product Care Instructions | Wipe clean with a soft sponge and dry thoroughly. | - | No Dishwasher Safe Parts | Dishwasher Safe | Hand Wash Only |
| Wattage | 700 watts | 800 watts | - | - | 700 watts |
| Price | £271.48 | - | £150.51 | £122.46 | - |
FAQ
What are breadmakers?
Breadmakers are electric kitchen appliances that automate the breadmaking process. They mix and knead the dough, allow it to rise, and then bake the bread in one unit. This allows busy people to easily make homemade bread with minimal effort.
What types of bread can you make in a breadmaker?
You can make all sorts of bread in a breadmaker including basic white and whole wheat bread, as well as more artisanal loaves like sourdough, rye, multigrain and fruit & nut breads. Most breadmakers have settings for different loaf sizes and crust types.
What are the benefits of using a breadmaker?
The main benefits are convenience and consistency. The appliance does all the work for you measuring ingredients, kneading, proofing and baking. You can just add ingredients, press start and in a few hours have freshly baked bread. It takes the effort out of kneading by hand and monitoring oven temperatures.
Do you need any special skills or knowledge to use a breadmaker?
No special skills are required. Breadmakers are designed to be easy to use even for those new to bread baking. Just follow the recipe booklet and instructions. The appliance handles the trickier parts of breadmaking automatically.
How much do breadmakers cost?
Prices range from £50 for basic models up to £200+ for higher-end versions with more features. Mid-range models around £100-150 offer a good balance of features for most home bakers.
Where is the best place to store bread made in a breadmaker?
Bread baked in a breadmaker should be stored in the same way as regular bread. Keeping it in a bread bin or sealed container helps retain freshness. For longer storage, wrapping tightly in foil and freezing is recommended.
Can you use a breadmaker if you're gluten free?
Yes, many breadmakers can accommodate gluten-free recipes. You'll need to use gluten-free flour mixes and check your manual for gluten-free settings. Dedicated gluten-free breadmakers are also available.
Is bread from a machine the same as baking it by hand?
The ingredients and end result are basically the same. Though aficionados argue hand kneading creates better texture. But for most home bakers, machine-made loaves are very comparable to handmade, with the added convenience.
How do you clean a breadmaker?
Most parts are dishwasher safe including the bread pan, kneading blade and measuring cup. The control panel just needs wiping down. It's important to clean it thoroughly after each use to avoid build up.
What safety tips should you follow when using a breadmaker?
Place it on a flat, heatproof surface away from edges.
Don't leave it unattended in case of overflow/overbaking.
Unplug after use and allow to fully cool before cleaning.
Check cord/plug for damage before use.
Follow all manufacturer instructions.
